Vista 64 TCP/IP Workaround

How to connect to a printer via a TCP/IP port from Windows Vista 64.

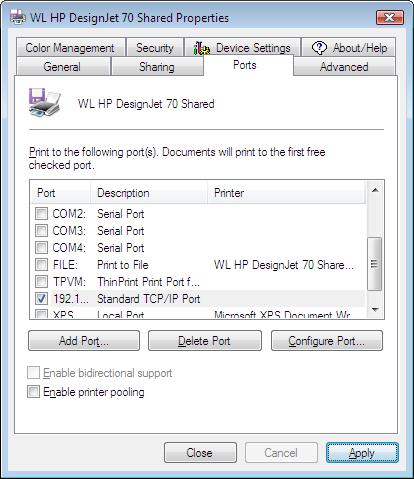
Vista 64 users have reported problems when attempting to print via a TCP/IP port. The symptoms may include a partial amount of output being printed and/or a strip of paper being cut, accompanied by an error message on the output device.

Use this workaround for TCP/IP printing with Vista 64.

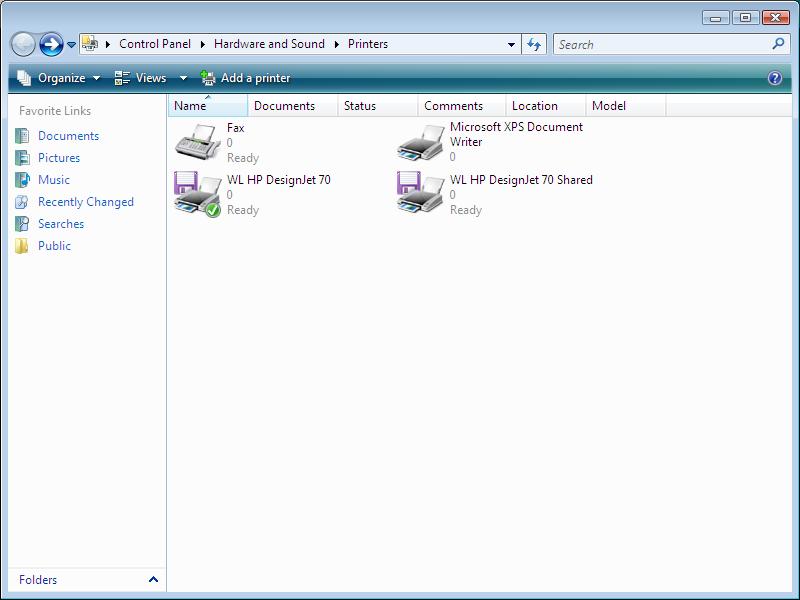
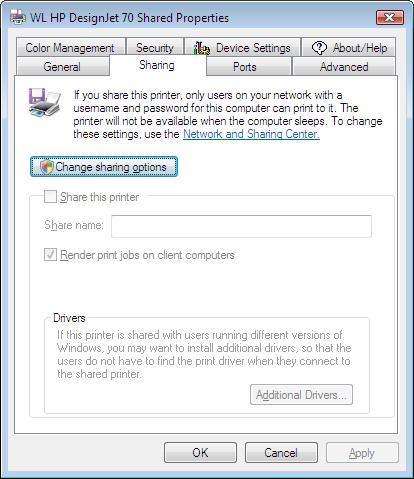
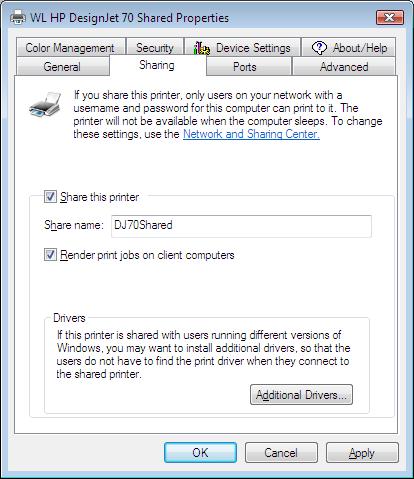
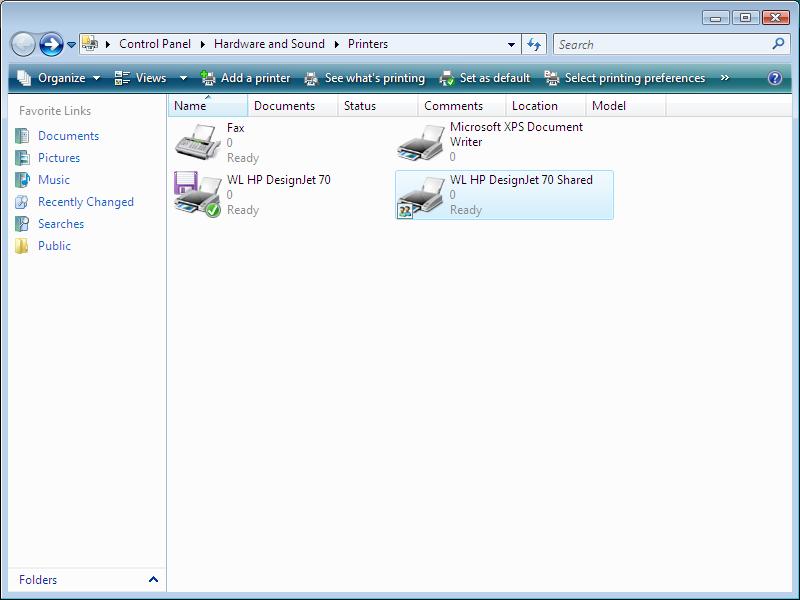
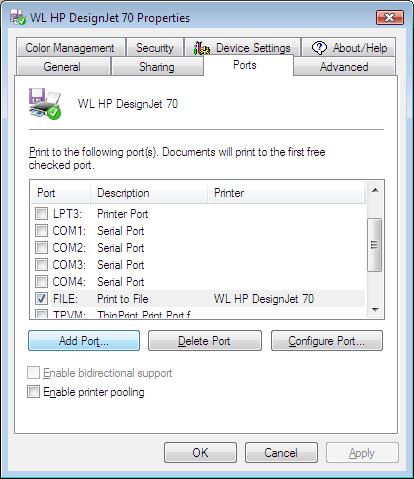
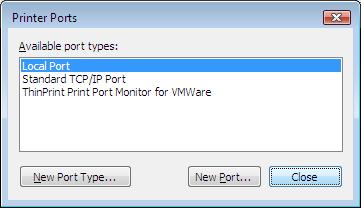
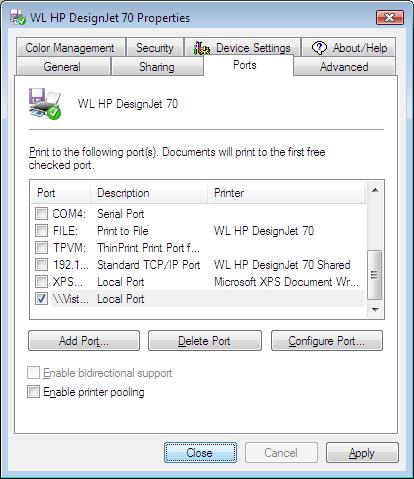
The workaround establishes a connection to a shared printer on the local computer, which in turn is connected to the device via TCP/IP. This method overcomes the problem of printing directly to a device via a standard TCP/IP port under Vista 64.

Step 1: Install a Primary WinLINE Model

The WinLINE model installed in this step will be the primary driver used for printing.

1.1 Start the WinLINE Installer


Click Next

1.2 Choose Install Location


Click Install

1.3 Proceed with Install


Click Next

1.4 License Agreement


If you agree, select "Yes", then click Next to continue

1.5 Manufacturer/Model/Port


Select your Printer Manuafacturer and Model.
Select FILE: as the Port.
Click Next

1.6 Printer Name


Keep the name and Click Next

1.7 Ready to Install


Click Finish

1.8 Successful Install


Click Finish

1.9 Windows Restart


Click No and proceed to Step 2

Step 2: Install a Shared WinLINE Model

The WinLINE model installed in this step will be shared. We need to install it with a different name.
Repeat steps 1.1 to 1.9 above, with the following exeptions:

2.6 Printer Name


Change the name, we added "Shared" in this example. Click Next

2.9 Windows Restart


Click Yes to restart Windows. Then proceed to Step 3

Step 3: Open the Printers Folder

3.1 Start Control Panel


Under Hardware and Sound, Click Printer

3.2 Printers Folder


Both Primary and Shared models installed in Steps 1 and 2 should be present. Leave the Printers Folder open. Continue to Step 4

Step 4: Connect the Shared Model to a TCP/IP Port

In the Printers Folder, right-click on the Shared model and select Properties.

4.1 Shared Model Properties


Select the Ports Tab

4.2 Shared Model Printer Ports


Click Add Port

4.2 Add Printer Ports


Select Standard TCP/IP Port and click New Port

4.3 Add Standard TCP/IP Port Wizard


Click Next

4.4 IP Address


Enter the IP address of your Jetdirect or Print Server. The value used here is an example only.
Click Next

4.5 Detecting...


Windows attempts to detect the Jetdirect or Print Server. If this fails a further dialog will present a choice of port types. Select the appropriate type.

4.6 Completing


Click Finish

4.7 Printer Ports


Click Close

4.8 Shared Model Printer Ports


Confirm the new TCP/IP Port is checked.
Click Apply
Select the Sharing tab

4.9 Sharing


Click Change sharing options

4.10 Sharing Options


Check Share this printer
Enter a Share Name. In this example we chose DJ70Shared
Check Render print jobs on client computers
Click OK

4.11 Printers Folder


Confirm that the shared model now has the share icon
Proceed to Step 5

Step 5: Connect the Primary Model to a Local Port

In the Printers Folder, right-click on the Primary model and select Properties.

5.1 Primary Model Properties


Select the Ports Tab

5.2 Primary Model Printer Ports


Click Add Port

5.2 Printer Ports


Select Local Port then click New Port

5.3 Port Name


Enter the local port address which is of the form \\ThisServername\Sharename. Where ThisServername is the name of the computer you are currently using. Sharename is the name entered in 4.10 above.
Click OK

5.4 Printer Ports


Click Close

5.5 Primary Model Printer Ports


Confirm the new Local Port is checked
Click Apply


5.6 Print a Test page

Select the General Tab

Click Print Test Page